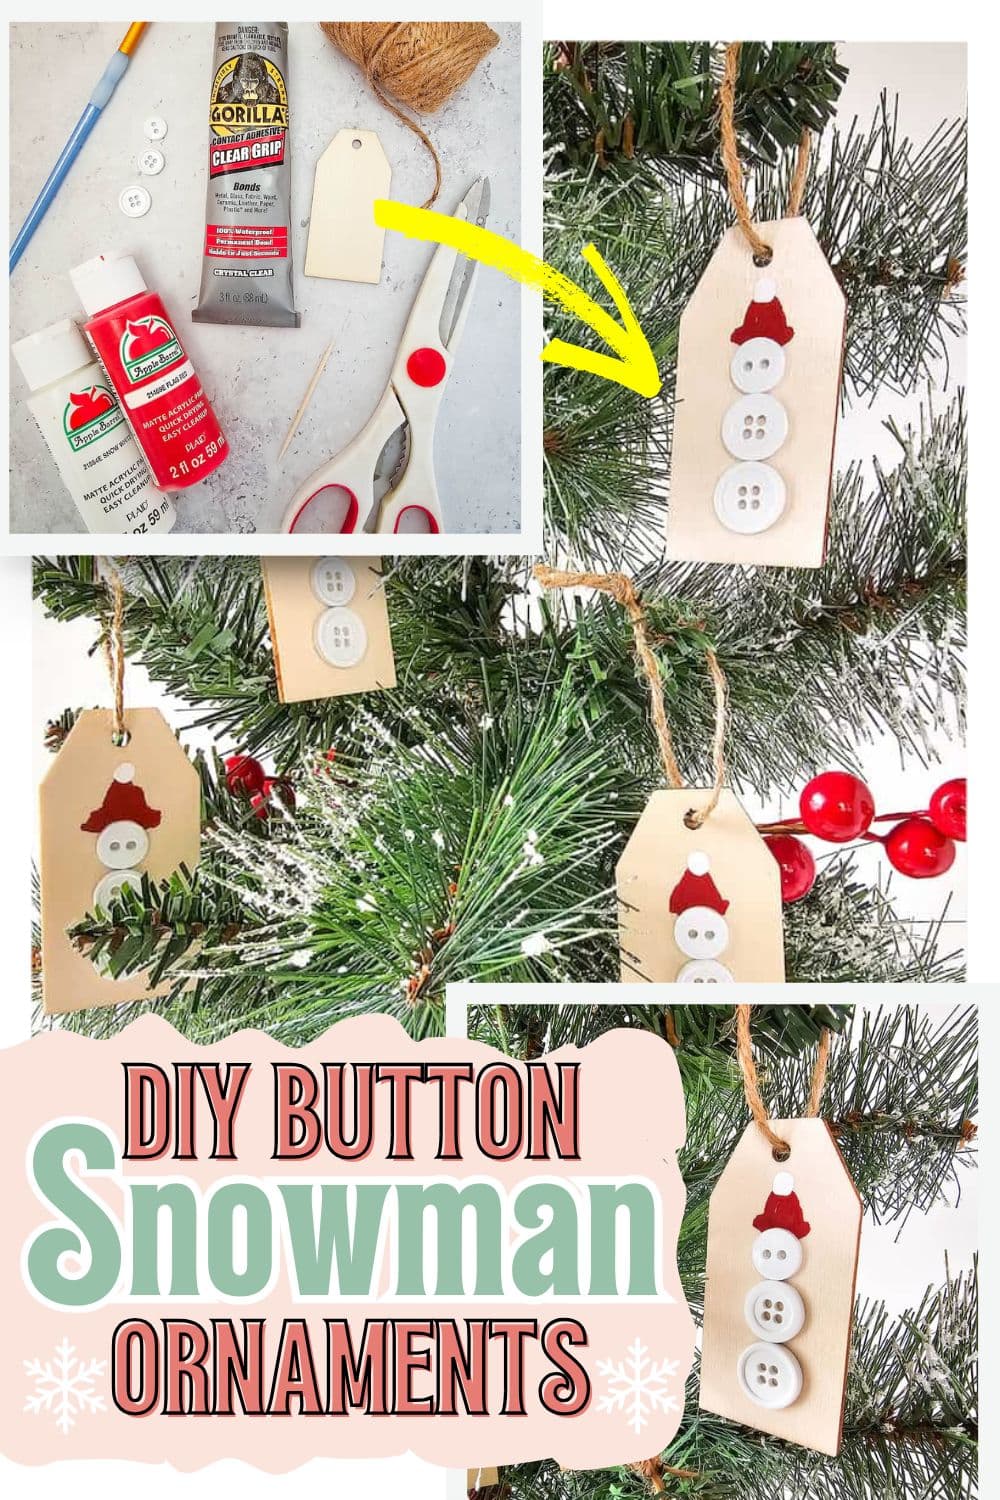
DIY Button Snowman Gift Tag Ornaments | Step-by-Step Tutorial!
This Button Snowman Gift Tag Ornament is a quick and easy DIY project that only requires a few basic supplies, but the results are simply adorable.
You’ll create a cute little snowman to hang on your tree or gift to someone special!
Don’t forget to pin this for later!

(This post may contain affiliate links. If you click one and make a purchase, I may receive a small commission at no extra cost to you. Read the disclaimer here. Thank you for your support!)
This cute little DIY ornament is really quick and easy to whip up and you probably have most of the supplies on hand! The only extra thing you’ll need to grab is the little wooden button tags.
In a pinch, you could even use heavy card stock or a thin cardboard to create the tags. But I’m also including a link to find the wooden version on Amazon, which will hold up for longer.
In addition to adding some super cute charm to your tree, you could also attach these little tags to a gift to make it even more sweet.
In that case you could use card stock and then write the recipients name on the back of the tag.

OK, now I’m just brainstorming all the uses for this festive DIY- so let’s move this right along and dive in to the tutorial!
Below, you’ll find the step-by-step instructions for making your Button Snowman Ornament.
If you’re new to crafting, don’t worry—this project is simple, and I’ll guide you through the whole process!
More Christmas Ornament Patterns
Looking for more holiday fun? Check out all the other free Christmas ornament patterns available on my website:
- How to Make Cute and Easy Macrame Gnome Ornaments
- 3 Free Punch Needle Christmas Ornament Patterns
- 5 Boho Macrame Ornament Patterns
- 7 Beautiful Macrame Ornament Patterns
- Easy Macrame Christmas Tree
- 30+ Free Crochet Christmas Ornament Patterns
- 23 Free Macrame Christmas Ornament Ideas
- 13 Festive Knitted Christmas Stocking Patterns

DIY Button Snowman Ornament Tutorial
Supplies You’ll Need:

- Wooden gift tags
- Red and white craft paint
- 3 small white buttons
- ¼” (6mm) angled paintbrush
- Gorilla Glue
- Toothpick (for easy glue application)
- Twine
- Scissors
STEP 1: Paint the Hat Shape
Use the red paint to paint a hat shape about ½ inch from the hole in the center of the wooden tag.
Do 2 thick coats of paint.

Step 2: Create the Hat Pom Pom
Use the bottom of the brush to make the little pom pom at the top of the hat with white paint.

Step 3: Attach the First Button
Apply glue to the back of a button using the toothpick, then glue the button right over the rim of the hat.


Step 4: Add the Snowman Body
Repeat with the remaining two buttons to make the snowman body.

Step 5: Add the Twine
Cut a length of twine and loop it through the hole in the tag, then tie.

Your adorable snowman tag is now complete and ready to use!
In Conclusion
I hope you enjoyed this fun and easy craft project!
Whether you keep it for yourself or give it as a gift, this Button Snowman Ornament will be a delightful addition to anyone’s holiday season.
Looking for more fun craft projects to try?
Be sure to check out my other DIY tutorials and patterns for more creative ideas!
