How to Finger Knit a Chunky Blanket Fast! (for Beginners)
Did you know you can make a chunky hand knit blanket in less than 3 hours?
Seriously, you can!
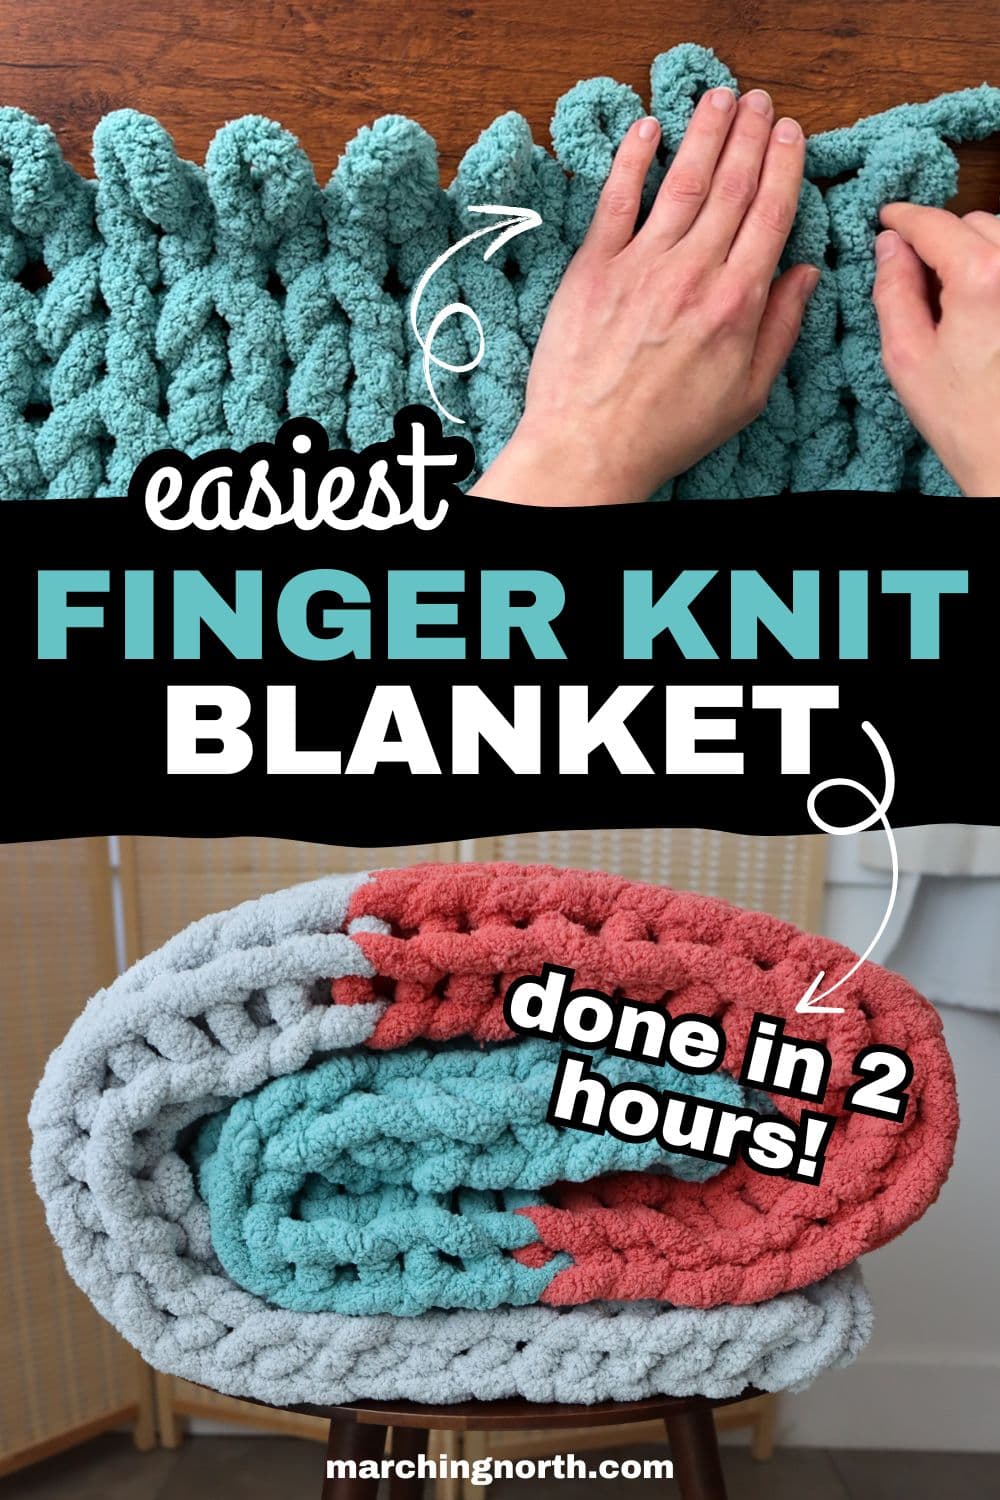
Let me introduce you to finger knitting, the fun and quick knitting experience you didn’t know you were missing.
Don’t forget to pin this for later!
(This post may contain affiliate links. If you click one and make a purchase, I may receive a small commission at no extra cost to you. Read the disclaimer here. Thank you for your support!)
Similar to arm knitting (but in my opinion better, because I can get up to go pee with no issues), finger knitting is incredibly simple and a fun way to make a cozy blanket super fast.
This project was my first foray into finger knitting, but it certainly won’t be my last because it was so much fun and unbelievably satisfying!
Don’t you just love a fast project?
OK, let’s take a look at what yarn you need to finger knit a blanket and a few other important things, and then we’ll dive into this fun and fast pattern.
What is finger knitting?
Finger knitting is where you use your fingers to knit instead of using knitting needles like you do with traditional knitting.
There are two versions of finger knitting that I’ve come across.
One is where you literally wrap the yarn around your 4 fingers to make a knitted strip of fabric. This works well for scarves and things like that.
I’m not sure if you can use that technique to make a blanket, but maybe you can.
The version of finger knitting that we’ll be doing is different.
Instead of knitting around your fingers, you just use your fingers to pull the loops through the row of stitches.
The nice thing about this method is that you aren’t actually attached to the knitting project, and can easily get up to take a quick break without taking a chance on ruining your project.
If you’ve ever tried arm knitting, you know that you’re kind of attached to the thing you’re making until its done.
I mean, I’m sure there’s a way to take the loops off without messing everything up, but it’s a bit cumbersome.
What yarn should I use for finger knitting?
Hands down, my favorite yarn for finger knitting blankets like these is Bernat Blanket Big.

It’s super fluffy, thick and soft, and very easy to work with.
Also, it’s easy to wash! Which is always a good thing.
We’ve all seen those beautiful chunky knit blankets made with wool roving, carefully draped over a perfectly made bed in a room so well decorated you want to cry.
But the reality is that a blanket like that wouldn’t last 2 seconds in a house with kids, pets, or let’s be real, humans.
They aren’t washable, and they probably aren’t even usable because the slightest amount of friction is the arch nemesis of wool roving.
Bernat Blanket Big yarn gives you all the fluffy goodness, but it’s also durable and washable, so in other words, it’s real world yarn.
If you can’t find that exact yarn, you’ll want to look for another type of yarn that’s a jumbo size 7, and that recommends a 25 mm crochet hook or knitting needles.
And you’ll want to find a soft yarn so you end up with a cozy finished blanket.
There are several other chunky chenille yarn options out there that would work just fine.
Can I make a baby blanket with this pattern?
I think this technique would make a perfect blanket to lay a baby on top of on the floor, like for tummy time or play time.
But as far as making a baby blanket to lay on top of a baby, I think this yarn is too thick and too hot to be honest.
Just to be safe, I don’t recommend making a baby blanket with this method. But you could make a really nice, squishy blanket for those little cuties to roll around on while supervised!
Now, if you did this with smaller yarn, it might work for a baby blanket. I haven’t tried it myself though so I can’t say for sure.
Easy Finger Knit Blanket Pattern
Supplies You’ll Need
- Bernat Blanket Big Yarn
- 2 skeins of Light Teal
- 3 skeins of Terra Cotta
- 3 skeins of Misty Gray
- NOTE: If you want to do a one color version of this, you can probably get away with 7 skeins of any one color. I had a decent amount left over of my last skein of Terra Cotta and Misty Gray.
- Scissors
- Lighter for yarn melding method to join ends, which is optional. If you plan to tie your ends together, you won’t need this.
Finished Size
Approx. 56 inches by 60 inches.
Basically it’s a nice, oversized throw size blanket.
Video Tutorial
Here’s the video tutorial for this blanket, and be sure to subscribe to my YouTube channel so you don’t miss any new videos!
Step 1: Make a slip knot
First, find a nice flat surface that’s a decent width to work on.
A kitchen table would work pretty well. Or you could just work on the floor.
If you want to do the color block design I did, start with the teal yarn.
Start by making a slip knot in the end of your yarn.
Loop the yarn around your hand, then pull the yarn through the loop formed.
Slide your fingers out of the loop, then pull on the loop and both ends of the yarn to tighten up the knot.
Adjust the loop so it’s about 2 inches long.
Step 2: Make the foundation row
This part is just like crochet, except you’re using your fingers instead of a hook.
Stick your fingers through the loop, and grab the yarn.
Pull through a loop that’s the same size as the starting loop.
That’s your first chain.
Keep doing that until you have a total of 30 chains.
(If you want your blanket to be wider, keep chaining until it’s your desired width.)
Step 3: Knitting the Blanket
Now it’s time to start knitting!
First Row
Lay your working yarn above your chain and run the yarn all the way across the row to the left.
Starting with the last chain you made, pull a loop through the chain. Make it the same size as the chains you just made. (About 2 inches.)
Continue that going to the left. At first it’ll be a little awkward, but it gets easier as you go.
Make sure you aren’t accidentally shrinking the previous loop when you make the next loop.
I like to hold the previous loop with my other hand to make sure that doesn’t happen.
Continue until you reach the last loop at the end of the row.
Second Row and Onward
Lay your yarn above the first row but this time it’ll be going across to the right.
Just like you did in the previous row, pull the yarn through the loops going across to make row 2.
Then when you reach the end of the row, go back in the other direction.
It’s that easy!
For the color block pattern, continue knitting until you have 14 rows.
What to do when you run out of yarn
With this big, chunky yarn, you’re going to run out frequently.
There are two ways you can join a new piece of yarn.
The simplest way is to tie a knot in the two yarn tails, cut off the excess yarn and continue on.
Or, you can use my new favorite method! Bwahahahahahaha!
(This method involves fire, so be very, very careful if you go this route. The knot method is still totally fine, too.)
First, you use a lighter to light the center core of the yarn (I’ve only tried this with Bernat Blanket Big, so I can’t say if it will work with other yarns).
Once they’re both lit, you carefully smash them together, making sure you don’t burn your fingers.
Hold them there for a few seconds so it can cool, and it seamlessly melds the two yarn ends together.
Either way, just add on more yarn when you run out and continue on!
Changing Colors
OK, you’ve made it to the end of row 23 (or however many you chose to do) and now it’s time to change colors.
First, pinch the yarn right where it comes out of the last stitch you made.
Carefully pull that last stitch out to undo it, and keep pinching that same spot. Be careful not to pull out the second loop.
Where you’re pinching is where the join needs to happen.
Grab your next color of yarn (red if you’re following along with me).
If you’re tying them together, you’ll want your knot to be right where you’re pinching. Cut off the excess yarn tails.
If you’re doing the lighter method, cut the yarn where you are pinching, then melt the two ends together.
Once your new color is joined, re-knit the last stitch that you undid.
There should be just enough yarn to make the stitch without the new color peeking through.
Now when you start the new row, it’ll seamlessly change colors!
Keep on Knitting!
Knit 19 rows with the red yarn, adding on a new skein when ever you run out.
Then change colors again at the end of the 19th row, this time to the gray yarn.
Knit 23 rows with the gray yarn.
(If you want your blanket to be longer, just continue until it’s your desired length.)
Finishing Off
Once you knit your last row of gray, it’s time to finish off our blanket!
(Don’t worry, it’s really easy.)
Starting on the last stitch you made, lay the left loop on top of the next loop to the right.
Reach your fingers through the two loops and grab your working yarn. Pull up a loop.
This new loop will be a bit longer than the previous loops, but not by much.
You’re going to pull the new loop over and lay it on top of the next loop (so you want it to be long enough to do that), and repeat, grabbing the working yarn through those two loops and pulling through another loop.
Continue that until you get all the way across the row.
Note: my blanket ended on the left and if you’re following along with me yours should too. But if you ended on the right for some reason, do the same thing but in reverse, working in the opposite direction.
When you get to the end, cut the yarn leaving a yarn tail that’s at least 7 inches long or so.
Pull the tail through the last loop and pull to tighten it up.
Weaving in the ends
Last step is to weave in any ends you have.
You should have one at the beginning and end of your blanket.
Weave them in really good, and your blanket is complete!
Full Pattern for this Finger-Knit Blanket
- Make a Slip knot and Chain 30.
- Knit 14 rows with the teal yarn.
- Knit 19 rows with the red yarn.
- Knit 23 rows with the gray yarn.
- Finish off and weave in ends.
In Conclusion
I hope you enjoyed this easy finger knit blanket tutorial!
Check out these other posts to find your next project-
Very easy & understandable directions, thank you much.
This video was by far the easiest to understand with clear directions. Thank you!
I loved this blanket video. I can’t wait to make it.