Easy 3 Arm Spiral Macrame Plant Hanger (Free Pattern + Video!)
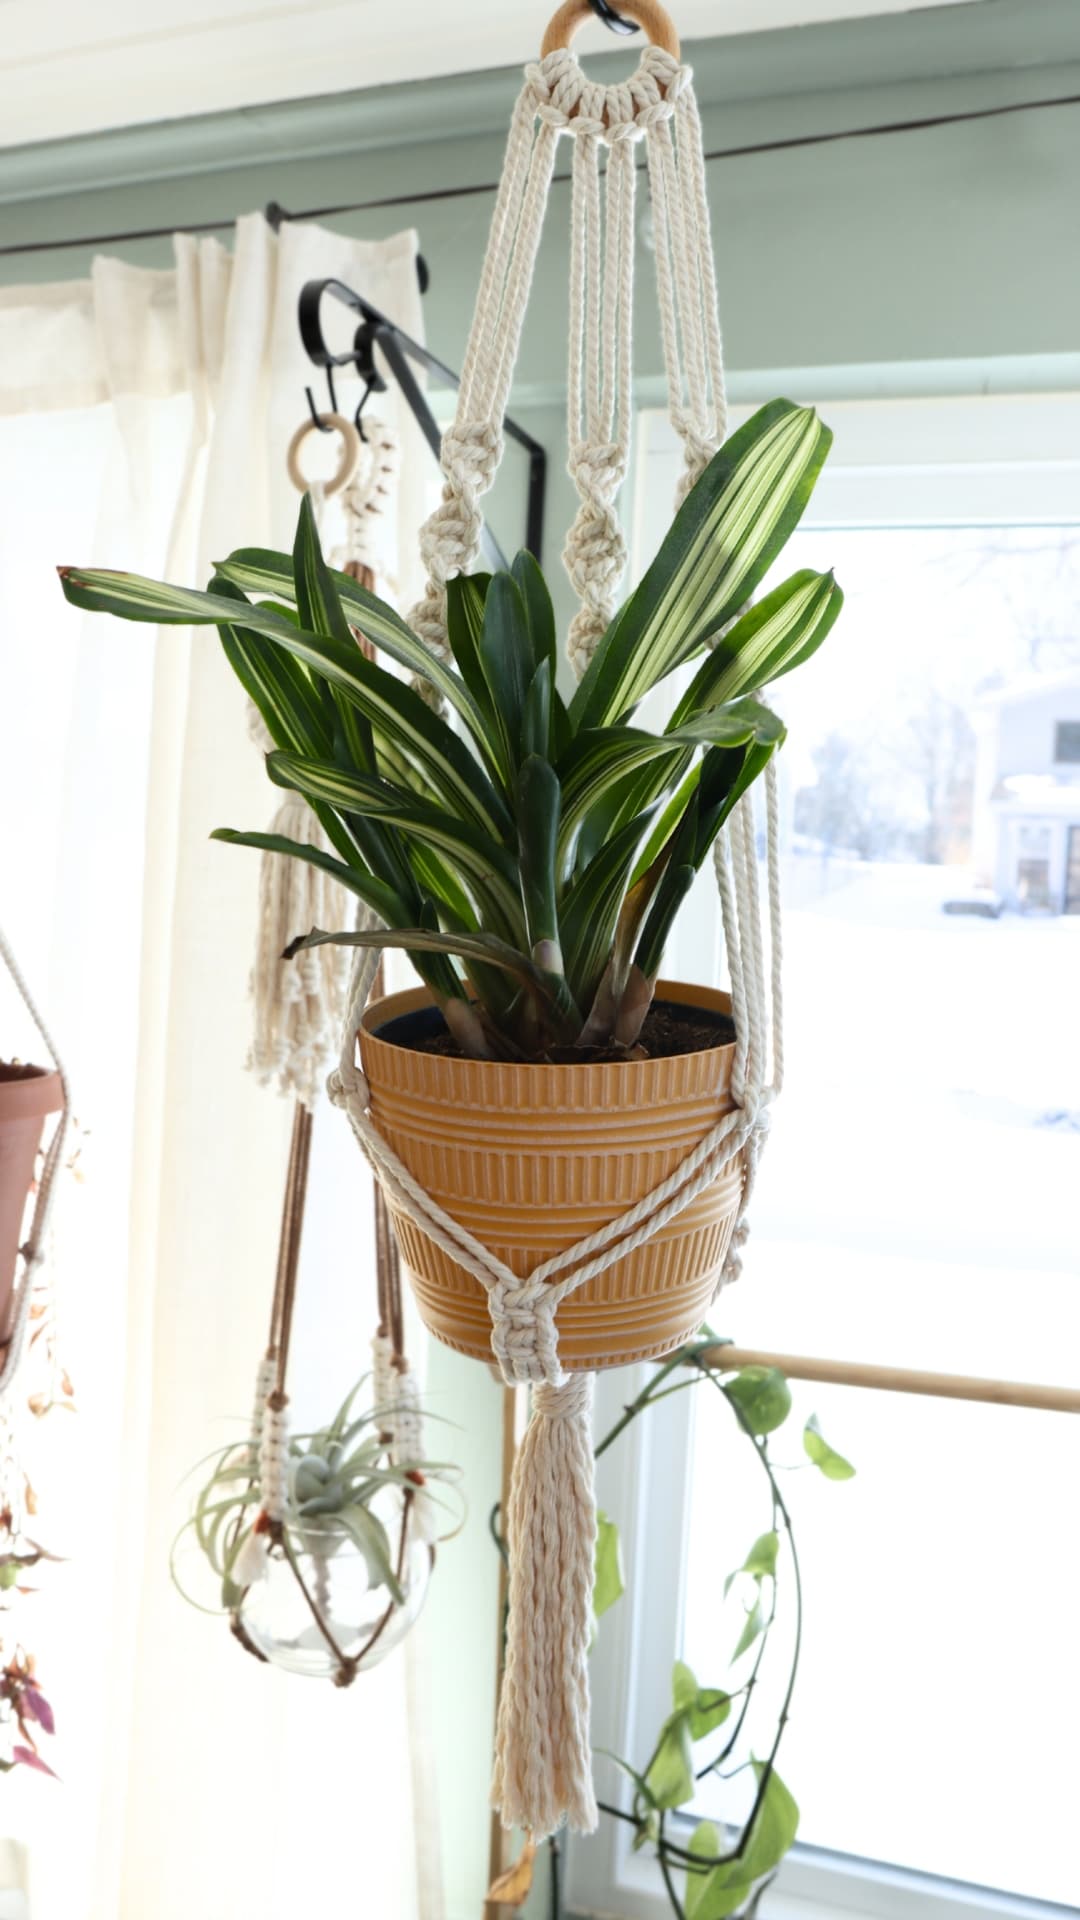
Learn how to make a super cute and easy macrame plant hanger with 3 arms and some lovely spiral knots in this free pattern and step by step tutorial!
Don’t forget to pin this for later!
(This post may contain affiliate links. If you click one and make a purchase, I may receive a small commission at no extra cost to you. Read the disclaimer here. Thank you for your support!)
This pattern is beginner friendly, but still super cute and makes a cozy little home for your plant babies!
Below, you’ll find the free pattern and the video tutorial.
If you’re new to macrame and want to learn the basic knots, I can help you with that!
Also, be sure to sign up below for my free printable PDF knot guide so you can keep it handy while you’re working on your projects!
More Macrame Plant Hanger Patterns
Plant hangers are one of my favorite things to make, and I’ve got lots of them for you to try!
Check out some of the other free macrame plant hanger patterns available on my website:
- Free DIY Macrame Plant Hanger Pattern (Low Key & Tassel Free!)
- How to Make a Simple Macrame Plant Hanger (Easy Tutorial!)
- Easy DIY Macrame Plant Hanger (with NO Tassel!)
- How to Make a Double Macrame Plant Hanger (Tutorial & Video!)
- How to Make a Spiral Macrame Plant Hanger (DIY Tutorial & Video!)
- Diamond Macrame (Wall Hanging) Plant Hanger | Tutorial & Video!
Easy Macrame Plant Hanger with 3 Arms Tutorial
Supplies You’ll Need
- 5 mm twisted cotton rope
- 2″ sturdy wooden ring
- scissors
- tape measure or ruler
- plant in a 5″ to 6″ pot (or in that ballpark)
Cut List
- 6 cords @ 110″ long
- 1 cord @ 24″ long
Video Tutorial
Check out the tutorial video for this macrame ornament on my YouTube channel, and don’t forget to subscribe!
STEP 1: Setting Up
First we’ve got to attach our 110″ cords to the wooden ring with larks head knots, but there’s a certain way you’ll want to do it so you don’t run out of cord.
Attach 2 cords with larks head knots to the wooden ring.

Then you’re going to adjust them so the cord on the far left and far right are 16″ longer than the 2 cords in the center.
Do the same thing with the next 2 cords and the last 2 cords.
Once you get them all attached, if you imagine the cords were numbered 1 through 12 going from left to right, then cords 1, 4, 5, 8, 9 and 12 will be 16″ longer than the other remaining cords.
It’s important that you set them up like that, otherwise your cords will end up too short.
STEP 2: Spiral Knots
Measure down 5 inches from the larks head knots and tie 15 spiral knots using cords 1 and 4 as the working cords and cords 2 and 3 will be the filler cords.
Do the same thing for the other 2 arms of the plant hanger. The second arm will use cords 5 through 8 and the third arm uses cords 9 through 12.
STEP 3: Square Knots
Starting on the first arm, measure down 5 inches from the spiral knots and tie one square knot.
Do the same thing with the other two arms.
STEP 4: Plant Basket
Now we’re going to make the basket part of the plant hanger.
Grab the left arm and the right arm (just ignore the middle one for a minute) and you’re going to attach them together using the center 4 cords.
Measure down 3 inches from the square knots we tied previously, and tie 2 square knots stacked on top of each other.
Rotate all the cords to the right a little bit, and you’re going to tie 2 square knots using the leftover 2 cords from the left arm, and the left two cords from the middle arm.
Before you tie the knot, you’ll flip the 2 cords from the back middle arm to the right.
(If that’s confusing, be sure to watch the video- it’s kind of hard to explain in words.)
Now go over on the other side of the plant hanger and attach the right arm to the middle arm the same way, but flip the cords from the middle arm in the other direction first.
STEP 5: Wrapping Knot
Grab your 24 inch long piece of cord for the wrapping knot. Remove your plant hanger from it’s hook and flip it so the back side is facing you, then stick it back on the hook.
Measure down 3 inches from the square knots we just tied, and that’s where we’re going to put the wrapping knot.
Hold the cord in front of the bundle in a U shape.
Then wrap around the whole bundle of cords with the long end, making each wrap under the previous one.
Don’t wrap too tightly with this type of cord, because it makes it really hard to finish the knot. But make it snug.
I did 5 wraps and the tail of my cord was really short, but I still had enough to feed it through the loop and finish the knot. You could also just do 4 wraps though and it’ll work just as well.
Thread the end of your cord through the loop at the bottom of the knot, then pull the cord sticking out the top until the loop goes up halfway under the wraps.
Trim the excess wrapping knot cord and push the ends up under the wraps with your scissors (carefully).
Now all you have to do is cut the excess cord at the bottom for your tassel. I usually leave maybe a 5 or 6 inch tassel, but you can make it the length you like.
Done!
In Conclusion
I hope you enjoyed this macrame plant hanger pattern and will make one to hold one of your favorite plants!
Looking for more macrame patterns to try?
More Macrame Patterns